Introduction
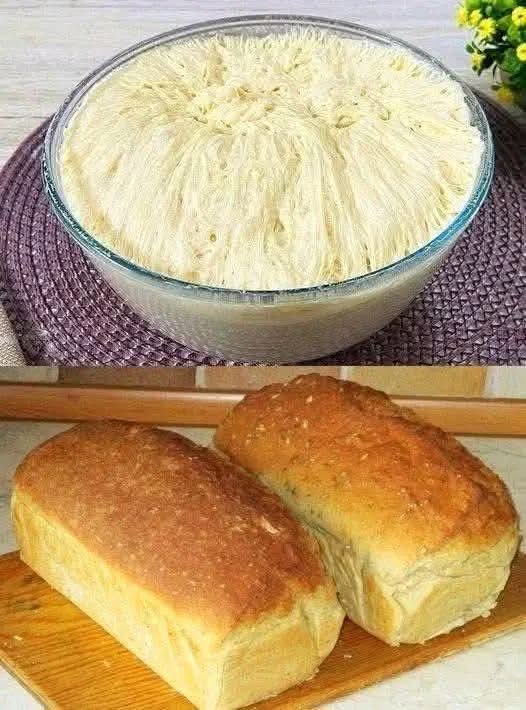
Soft, pillowy rolls with a golden top, brushed with butter while still steaming. Homemade rolls beat bakery ones because you eat them warm, minutes out of the oven. This recipe makes 12 rolls and needs only basic pantry ingredients.
A Little History
Bread is one of humankind’s oldest foods, and yeast-leavened bread goes back thousands of years to ancient Egypt. Small individual rolls became a fixture of European dining, and enriched doughs (made with milk, butter and sugar) turned plain bread into something tender and slightly sweet. Dinner rolls became a staple of holiday tables, especially in American and European home cooking.
Ingredients
- 1 cup warm milk
- ½ cup warm water
- 2¼ tsp active dry yeast (one standard packet)
- ¼ cup sugar
- 2 tbsp butter, melted
- 1 tsp salt
- 4 to 4½ cups all-purpose flour
- Extra melted butter for brushing
Method
- Activate the yeast. Mix the warm milk, warm water, sugar and yeast. Warm means about 105–110°F (40–43°C), comfortable on your wrist, not hot. Rest 5–10 minutes until foamy. If it doesn’t foam, the yeast is dead or the liquid was too hot or cold, so start over.
- Make the dough. Add the melted butter and salt. Stir in 4 cups of flour, a bit at a time, until a shaggy dough forms.
- Knead. Knead 8–10 minutes by hand (or 5–6 with a mixer’s dough hook), adding flour only as needed. The dough should be soft, smooth and slightly tacky, but not sticky.
- First rise. Place in a greased bowl, cover, and let rise in a warm spot for 1 to 1½ hours, until doubled.
- Shape (see below).
- Second rise. Cover and let the shaped rolls puff for 30–45 minutes.
- Bake. Heat the oven to 375°F (190°C). Bake 15–20 minutes until deep golden.
- Finish. Brush with melted butter right out of the oven. Serve warm.
Shaping the Rolls
- Punch down the dough gently and divide into 12 equal pieces (a kitchen scale helps).
- Flatten each piece slightly, pull the edges into the center, and pinch to seal.
- Flip it seam-side down and roll under your cupped palm on the counter until the surface is smooth and tight.
- Place in a greased 9×13 inch pan or on a lined baking sheet, about ½ inch apart for soft, pull-apart sides.
Tips for Success
- Don’t overload on flour. Too much makes dense rolls.
- A poke test tells you when the second rise is done: the dough should spring back slowly.
- For extra shine and softness, brush with butter before baking too.
- Storage: keep in an airtight bag for 2–3 days. Freeze baked rolls for up to 3 months and reheat at 300°F (150°C) for about 10 minutes.
Variations
- Garlic herb: brush with melted butter, minced garlic and parsley.
- Honey butter: swap the sugar for honey and brush with honey butter.
- Cinnamon rolls: roll the dough flat, spread with butter, cinnamon and sugar, roll up, slice and bake.
- Whole wheat: replace 1 to 1½ cups of the flour with whole wheat flour.
Benefits of Baking Your Own
- You control the ingredients, with no preservatives or additives.
- It costs far less than bakery rolls.
- Fresh bread tastes and smells better than anything from a bag.
- Kneading and shaping is relaxing, and it’s a great activity to share with kids.
- Rolls are filling, and flour supplies carbohydrates for energy. They are still a treat, so enjoy them in moderation.
For the Roll Lovers
These are perfect for holiday dinners, soups and stews, sliders and sandwiches, or just eaten straight from the pan. Tear one open, watch the steam rise, and let the butter melt in. Bake a double batch, because they vanish fast.
Conclusion
With a few simple ingredients, patience for two rises, and a generous brush of warm butter, you can make rolls that outshine any bakery’s. Once you’ve made them, you’ll never go back to store-bought.
Want a printable version, or the cinnamon roll variation in full detail?