Introduction
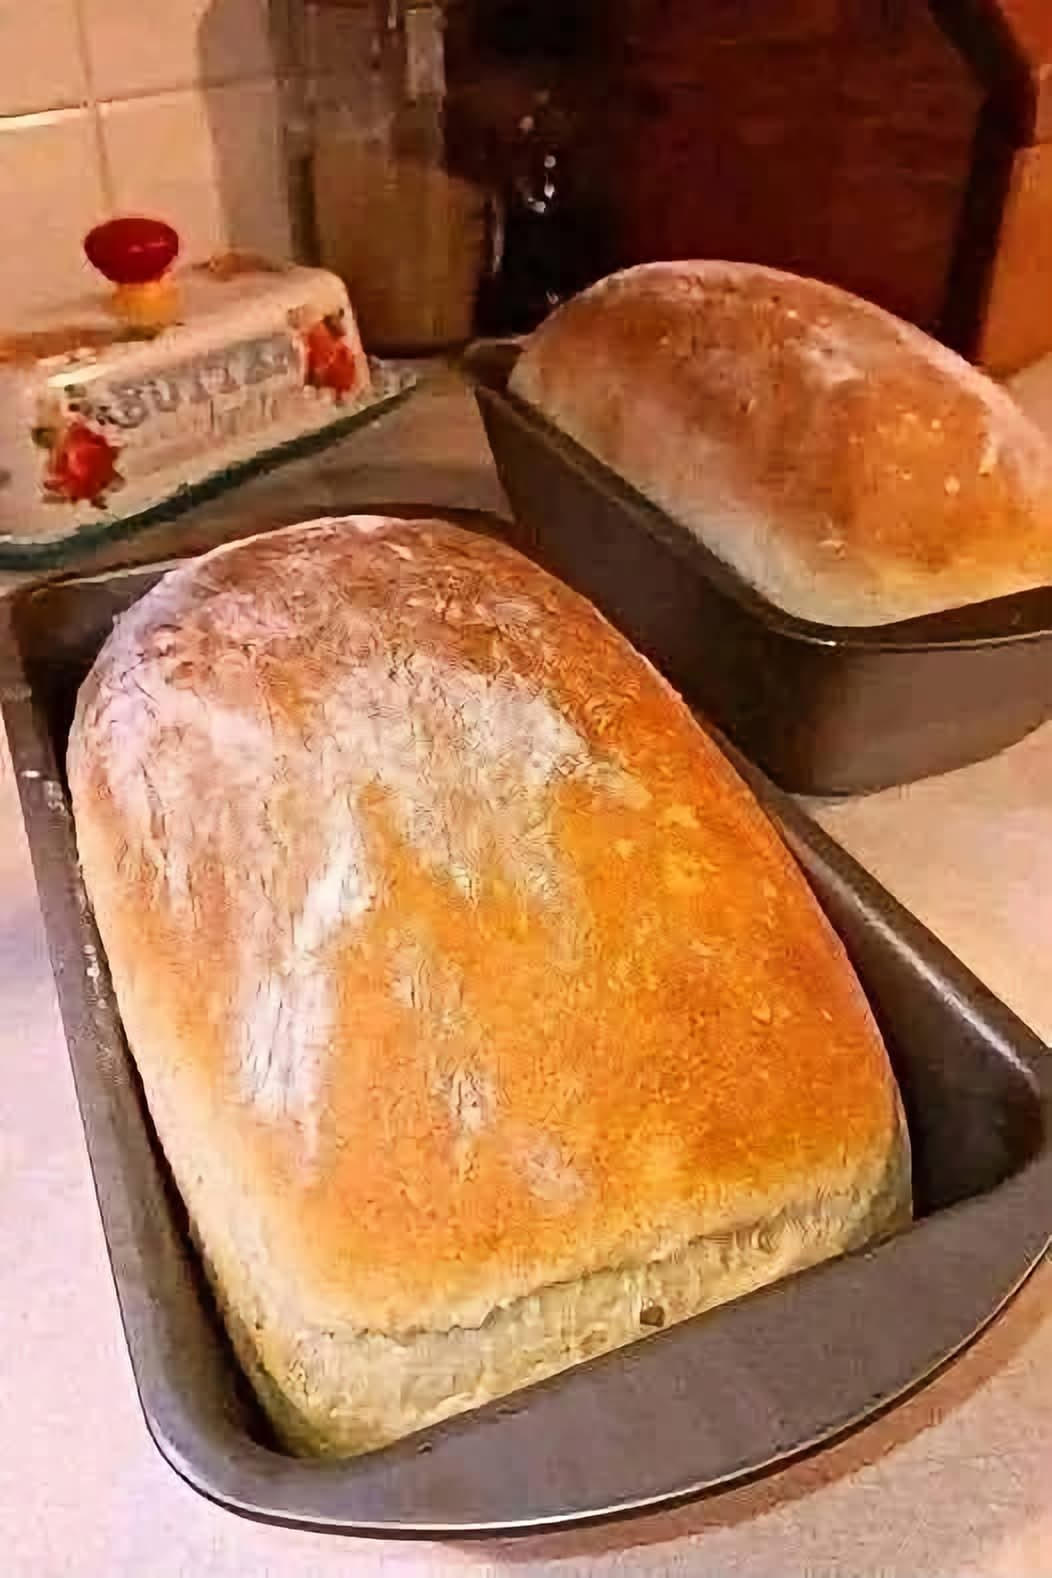
This Homemade Soft Sandwich Bread is a classic, comforting loaf with a beautifully golden crust and a soft, tender inside. Just like the bread shown in the photo, the dough is baked in loaf pans until it rises high and develops a lovely golden-brown top.
It is perfect for breakfast, sandwiches, toast, French toast, or simply spreading with butter and jam. Making bread at home may seem difficult at first, but this recipe is simple, reliable, and incredibly rewarding. The smell of freshly baked bread filling your kitchen is one of the best parts! ❤️🍞
📝 Recipe Information
- Recipe: Homemade Soft Bread Loaf
- Preparation: 20–25 minutes
- Rising: 1½–2 hours
- Baking: 30–35 minutes
- Total: About 2½ hours
- Yield: 2 medium loaves
- Difficulty: Easy to moderate
🛒 Ingredients
For the dough
- 1 kg all-purpose flour or bread flour
- 2 tablespoons instant yeast
- 3 tablespoons sugar
- 2 teaspoons salt
- 2½ cups (600 ml) warm milk or water
- 4 tablespoons melted butter or vegetable oil
- 1 large egg, optional
- 2 tablespoons powdered milk, optional, for extra softness
For the top
- 1 tablespoon melted butter
- 1 tablespoon milk or water, optional
👩🍳 Instructions
1. Activate the yeast
If using active dry yeast, combine the warm milk or water with the sugar and yeast.
Let it stand for 5–10 minutes until slightly foamy.
If using instant yeast, you can mix it directly with the flour.
Important: The liquid should be warm, not hot. Very hot liquid can damage the yeast.
2. Prepare the dough
In a large bowl, combine the flour, salt, and powdered milk if using.
Add the yeast mixture, melted butter or oil, and egg.
Mix everything together until a rough dough forms.
3. Knead the dough
Transfer the dough to a lightly floured work surface.
Knead for approximately 8–12 minutes, until the dough becomes smooth, elastic, and soft.
If the dough feels extremely sticky, add flour one tablespoon at a time. Avoid adding too much flour because this can make the finished bread dense.
A good dough should feel soft and slightly tacky but should not stick heavily to your hands.
🌾 First Rise
Place the dough in a lightly greased bowl.
Cover with plastic wrap or a clean kitchen towel.
Leave it in a warm place for approximately 1 hour, or until it has doubled in size.
The exact time depends on the temperature of your kitchen.
🍞 Shaping the Loaves
Once the dough has doubled, gently press it down to release excess air.
Divide it into 2 equal portions.
Shape each portion into a rectangle or log.
Roll the dough tightly from one end toward the other, sealing the edges underneath.
Place each loaf into a greased loaf pan with the seam underneath.
⏳ Second Rise
Cover the pans loosely and let the dough rise again for 30–45 minutes.
The dough should become noticeably puffy and rise toward the top of the pans.
Do not let it overproof, or the bread may collapse during baking.
🔥 Baking Method
Preheat your oven to 180°C / 350°F.
For a beautiful golden crust, lightly brush the tops with melted butter or milk.
Place the loaf pans in the center of the oven.
Bake for approximately 30–35 minutes, or until the tops are golden brown and the loaves sound hollow when gently tapped.
If the tops brown too quickly, loosely cover them with aluminum foil during the final part of baking.
✨ Finishing Method
Remove the bread from the oven.
Immediately brush the tops with a little melted butter for a softer, shinier crust.
Allow the loaves to cool in their pans for about 10 minutes.
Then remove them from the pans and place them on a wire rack.
Let them cool completely before slicing.
For the softest slices, use a serrated bread knife.
🍞 The Formation of the Perfect Loaf
The secret to beautiful homemade bread is the combination of proper kneading, sufficient rising time, and controlled baking.
During kneading, gluten develops and creates the structure that allows the bread to rise. Yeast produces gas during fermentation, creating the little air pockets that make the inside light and fluffy.
The second rise gives the shaped loaves their final volume before they enter the oven. Finally, baking sets the structure and creates the golden crust.
💡 Tips for Perfect Homemade Bread
- Use warm, not hot, liquid.
- Don’t add too much flour.
- Knead until the dough becomes smooth and elastic.
- Give the dough enough time to rise.
- Keep the dough covered while rising so it doesn’t dry out.
- Avoid opening the oven repeatedly during baking.
- Brush the hot bread with butter for a softer crust.
- Let the bread cool before slicing for cleaner pieces.
🥪 Serving Suggestions
This bread is incredibly versatile.
Serve it with:
- 🧈 Butter and honey
- 🍓 Jam or preserves
- 🥜 Peanut butter
- 🧀 Cheese
- 🥚 Eggs
- 🥪 Chicken or turkey sandwiches
- 🥑 Avocado
- 🍫 Chocolate spread
- ☕ Tea or coffee
It is also excellent for French toast, grilled cheese, toasties, and breakfast sandwiches.
🧊 Storage
Once completely cool, store the bread in an airtight bag or container at room temperature for 2–3 days.
For longer storage, slice the loaf and freeze it in a sealed freezer bag for up to 2–3 months.
You can take individual slices directly from the freezer and toast them whenever you need them.
🌾 Benefits
Homemade bread allows you to control the ingredients and avoid unnecessary additives often found in some commercially prepared breads.
Depending on the ingredients used, this loaf can provide:
- Energy from carbohydrates
- Some protein from flour and milk
- Fat from butter or oil
- A satisfying and filling base for meals
For a more nutritious version, replace part of the white flour with whole-wheat flour, although using too much whole-wheat flour will make the loaf heavier.
📖 A Little History
Bread is one of the oldest staple foods in human history. Different civilizations have been making bread for thousands of years, using grains, water, salt, and naturally occurring or cultivated yeast.
The modern sandwich loaf became especially popular because its rectangular shape made it easy to slice, store, toast, and use for sandwiches.
Today, homemade loaf bread remains a favorite because it combines simplicity, affordability, and the unmistakable aroma of freshly baked bread.
❤️ For Bread Lovers
If you’re a true bread lover, this recipe is one to keep!
There is something special about cutting into a freshly baked loaf, seeing the soft interior, and spreading warm butter over a slice while the bread is still slightly warm.
Homemade bread doesn’t need to be complicated—just a few simple ingredients, a little patience, and a warm oven can create something wonderful. 🍞❤️
🏆 Conclusion
This Homemade Soft Sandwich Bread Loaf is soft, fluffy, golden, and perfect for everyday meals. The recipe is simple enough for beginners while producing the kind of beautiful homemade loaves that make your kitchen smell amazing.
Bake two loaves, enjoy one fresh, and save the second for sandwiches and toast throughout the week.