Introduction
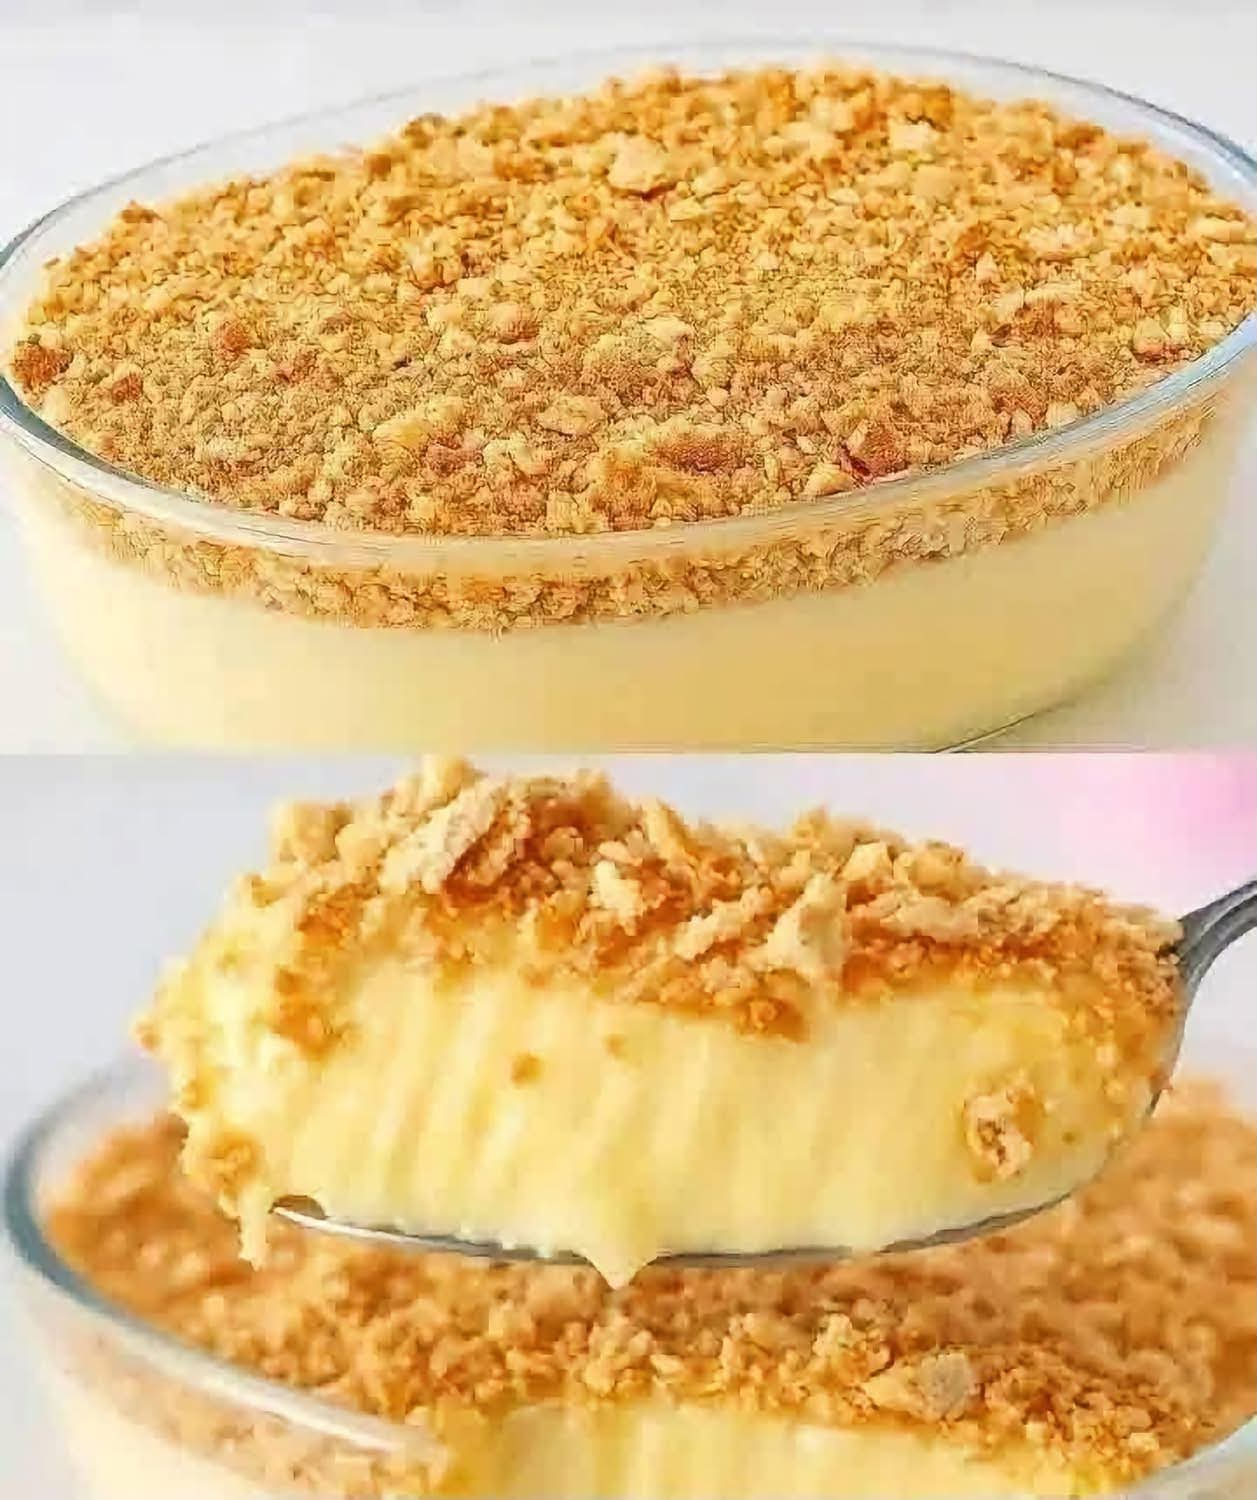
If you’re looking for a simple dessert that tastes delicious, requires no cooking, and uses only three ingredients, this creamy no-bake dessert is the perfect choice! 🍨❤️ With its smooth texture, rich flavor, and easy preparation, it’s an excellent treat for busy days, family gatherings, holidays, or whenever you’re craving something sweet.
The best part? You don’t need an oven, a stove, or complicated kitchen equipment. Simply mix the ingredients, pour the mixture into a dish, and let your refrigerator do the rest!
This easy dessert is perfect for beginners and experienced home cooks alike. You can also customize it with fresh fruit, chocolate shavings, crushed cookies, or your favorite toppings.
Once you try this creamy refrigerator dessert, you may find yourself making it again and again!
Ingredients
You only need three simple ingredients to prepare this delicious treat.
- 2 cups (480 ml) heavy whipping cream: Creates a rich, smooth, and creamy texture.
- 1 can (14 oz / 397 g) sweetened condensed milk: Adds sweetness and helps give the dessert its silky consistency.
- 1 packet (about 3.4 oz / 96 g) instant vanilla pudding mix: Helps thicken the mixture and adds a wonderful vanilla flavor.
Important: This version uses instant pudding mix to help the dessert set. Choose a pudding mix intended for cold preparation.
Instructions
Step 1: Prepare Your Mixing Bowl
Choose a large, clean mixing bowl. For the best results, make sure your heavy whipping cream is cold before you begin.
Step 2: Whip the Cream
Pour the cold heavy whipping cream into the bowl. Using an electric mixer, beat until soft peaks begin to form. The cream should become fluffy but should not be overwhipped.
Step 3: Add the Condensed Milk
Pour the sweetened condensed milk into the whipped cream. Gently mix until the ingredients are combined and the mixture looks smooth and creamy.
Step 4: Add the Vanilla Pudding Mix
Sprinkle in the instant vanilla pudding mix gradually while mixing at a low speed. Continue until the mixture thickens and becomes evenly blended.
Avoid overmixing to maintain a light, pleasant texture.
Step 5: Transfer to a Serving Dish
Spoon the creamy mixture into a glass dish, dessert cups, or small individual containers. Smooth the surface with a spatula.
If desired, decorate the top with crushed cookies, chocolate curls, or fresh fruit.
Step 6: Refrigerate
Cover the dessert and place it in the refrigerator for at least 4 hours, or until it is firm enough to serve. For the best texture, you can leave it overnight.
Step 7: Serve and Enjoy!
Remove the dessert from the refrigerator just before serving. Spoon it into bowls or serve it directly from the dish.
Enjoy every creamy, sweet, and delicious bite!
Methods of Preparation
No-Bake Refrigerator Method
This is the easiest method. Mix the three ingredients, transfer the mixture to a serving dish, and refrigerate until set. There is no baking or stovetop cooking required.
Individual Dessert Cup Method
Divide the mixture between small glasses or dessert cups before chilling. This creates attractive individual portions for parties, family dinners, or special occasions.
Layered Dessert Method
For a more impressive presentation, alternate layers of the creamy mixture with crushed cookies or thin slices of fruit. Refrigerate until the layers are firm and ready to serve.
Chocolate Lover’s Method
For a chocolate variation, replace the vanilla pudding mix with instant chocolate pudding mix, provided it is suitable for cold preparation. You can also add a little chocolate shavings on top.
A Little History of No-Bake Desserts
No-bake desserts have been popular in home kitchens for generations because they are convenient, affordable, and easy to prepare.
Before modern refrigerators became common, cooks often relied on chilled custards, creams, and other sweets prepared with simple ingredients. As refrigeration became more widely available, chilled desserts became easier to make and store.
Instant pudding mixes, canned sweetened condensed milk, and ready-to-whip cream made home dessert preparation even more convenient. These ingredients helped inspire countless refrigerator cakes, creamy puddings, layered desserts, and chilled treats.
Today, no-bake desserts remain favorites around the world. They are especially popular with people who want a homemade sweet without spending hours in the kitchen.
This three-ingredient version follows the same simple tradition: combine a few accessible ingredients, chill until set, and enjoy!
Benefits of This Easy Dessert
Although this is a sweet treat rather than a health food, it offers several practical advantages.
1. Simple Ingredients
You only need three main ingredients, making shopping and preparation straightforward.
2. No Oven Required
This recipe is ideal when you don’t want to heat the kitchen or use an oven.
3. Beginner-Friendly
The steps are easy to follow, even if you have little experience making desserts.
4. Convenient for Entertaining
You can prepare it several hours before guests arrive, leaving more time to enjoy the occasion.
5. Easy to Customize
You can experiment with vanilla, chocolate, fruit toppings, cookie crumbs, or other dessert decorations.
6. Perfect for Portion Control
Preparing the dessert in individual cups makes it easier to serve consistent portions.
A Small Nutritional Note: Heavy cream and sweetened condensed milk contain substantial amounts of fat, calories, and sugar. Enjoy this dessert in moderation, and consider smaller servings if you prefer a lighter treat.
Tips for the Perfect Creamy Texture
- Always begin with cold heavy whipping cream.
- Add the pudding mix gradually to avoid lumps.
- Mix gently once the condensed milk is added.
- Do not skip the chilling time.
- Use a covered container to prevent the dessert from absorbing refrigerator odors.
- If your mixture becomes too thick too quickly, avoid adding large amounts of extra liquid, which could prevent it from setting properly.
- Keep the dessert refrigerated until serving.
For food safety, keep it at 40°F (4°C) or below and avoid leaving it at room temperature for more than two hours.
Delicious Variations to Try
Strawberry Cream Dessert: Add sliced strawberries on top just before serving.
Lemon Cream Dessert: Use instant lemon pudding mix for a refreshing citrus flavor.
Chocolate Cookie Dessert: Add a layer of crushed chocolate sandwich cookies between the creamy layers.
Banana Cream Dessert: Use instant banana pudding mix and garnish with banana slices just before serving.
Coffee Cream Dessert: Use instant coffee-flavored pudding mix if available, or add a small amount of coffee flavoring without making the mixture too thin.
Festive Holiday Dessert: Decorate with chocolate curls, colorful sprinkles, or seasonal fruit for a beautiful holiday presentation.
Serving Suggestions
This creamy dessert pairs beautifully with a cup of coffee, tea, or a glass of cold milk.
For an elegant presentation, serve it in clear glasses so everyone can admire its smooth texture. Add a few fresh berries, a mint leaf, or a sprinkle of grated chocolate to make each serving look special.
It is perfect for birthdays, weekend family meals, Christmas celebrations, potlucks, and last-minute gatherings.
You can prepare it the night before and serve it the following day, making it a wonderful make-ahead dessert.
Conclusion
This creamy three-ingredient no-bake dessert proves that making something delicious doesn’t have to be complicated. With heavy whipping cream, sweetened condensed milk, and instant pudding mix, you can create a smooth, sweet treat without turning on the oven.
Simply mix, chill, and serve!
Whether you’re preparing dessert for your family, welcoming guests, or satisfying a sweet craving, this easy recipe is a wonderful addition to your collection.
Try it once, experiment with your favorite flavors, and make it your own. Sometimes, the simplest recipes become the most memorable!